A stone boat is a bit of an anachronism in this age of mechanization. You can think of it as a sled for heavy stones. Farmers in the 1700's would use them, usually pulled by an ox or team of oxen, to help clear their fields as they tamed the wild, and the boat made it easy to transport the stones they pulled from the earth. These stones may have become the foundation for their home, walls for a cellar, a hearth or chimney. In very rocky areas, stone walls and fences were and still are today a common sight.
So why is this tool from yesteryear such a handy device on the modern farm where a bulldozer might suffice? For starters, a heavy piece of equipment capable of shoving or carrying stones around is an expensive item. It also virtually guarantees you will be tearing up the ground as you go. A stone boat, on the other hand, distributes the weight of the stones you are hauling over the entire surface area of its runners. This reduces the point loads that wheels would have, reducing the impact to soil. In my case, I've been quarrying stone from a hill size in the midst of neatly mowed garden paths. I do not wish to tear up the sod, so a stone boat is an ideal device for dragging my stones around. Also, I don't want to have to lift the larger stones up into the bed of my pickup truck, and just rolling them end over end onto the boat is fairly simple.

To make a stone boat, I started out with some salvaged deck timbers from an old free standing deck which I tore down at a friends house. He inherited it and really did not like what he had. If you've been reading along, you may recall that I've used those deck materials to make our picnic table, wooden stakes, and some raised garden beds among other things. You never know what an afternoon of hard work and helping a friend out is going to yield.
Selecting some better pieces of 2 x 10, I knocked together a frame, then put some of the old deck boards back on this new frame to make my boat. I then added reinforcement to the under carriage to take the strain of a large eye bolt which would become the hitch for the boat.
Finally, using my saws-all, I rounded the front of the frame to accept the runners.
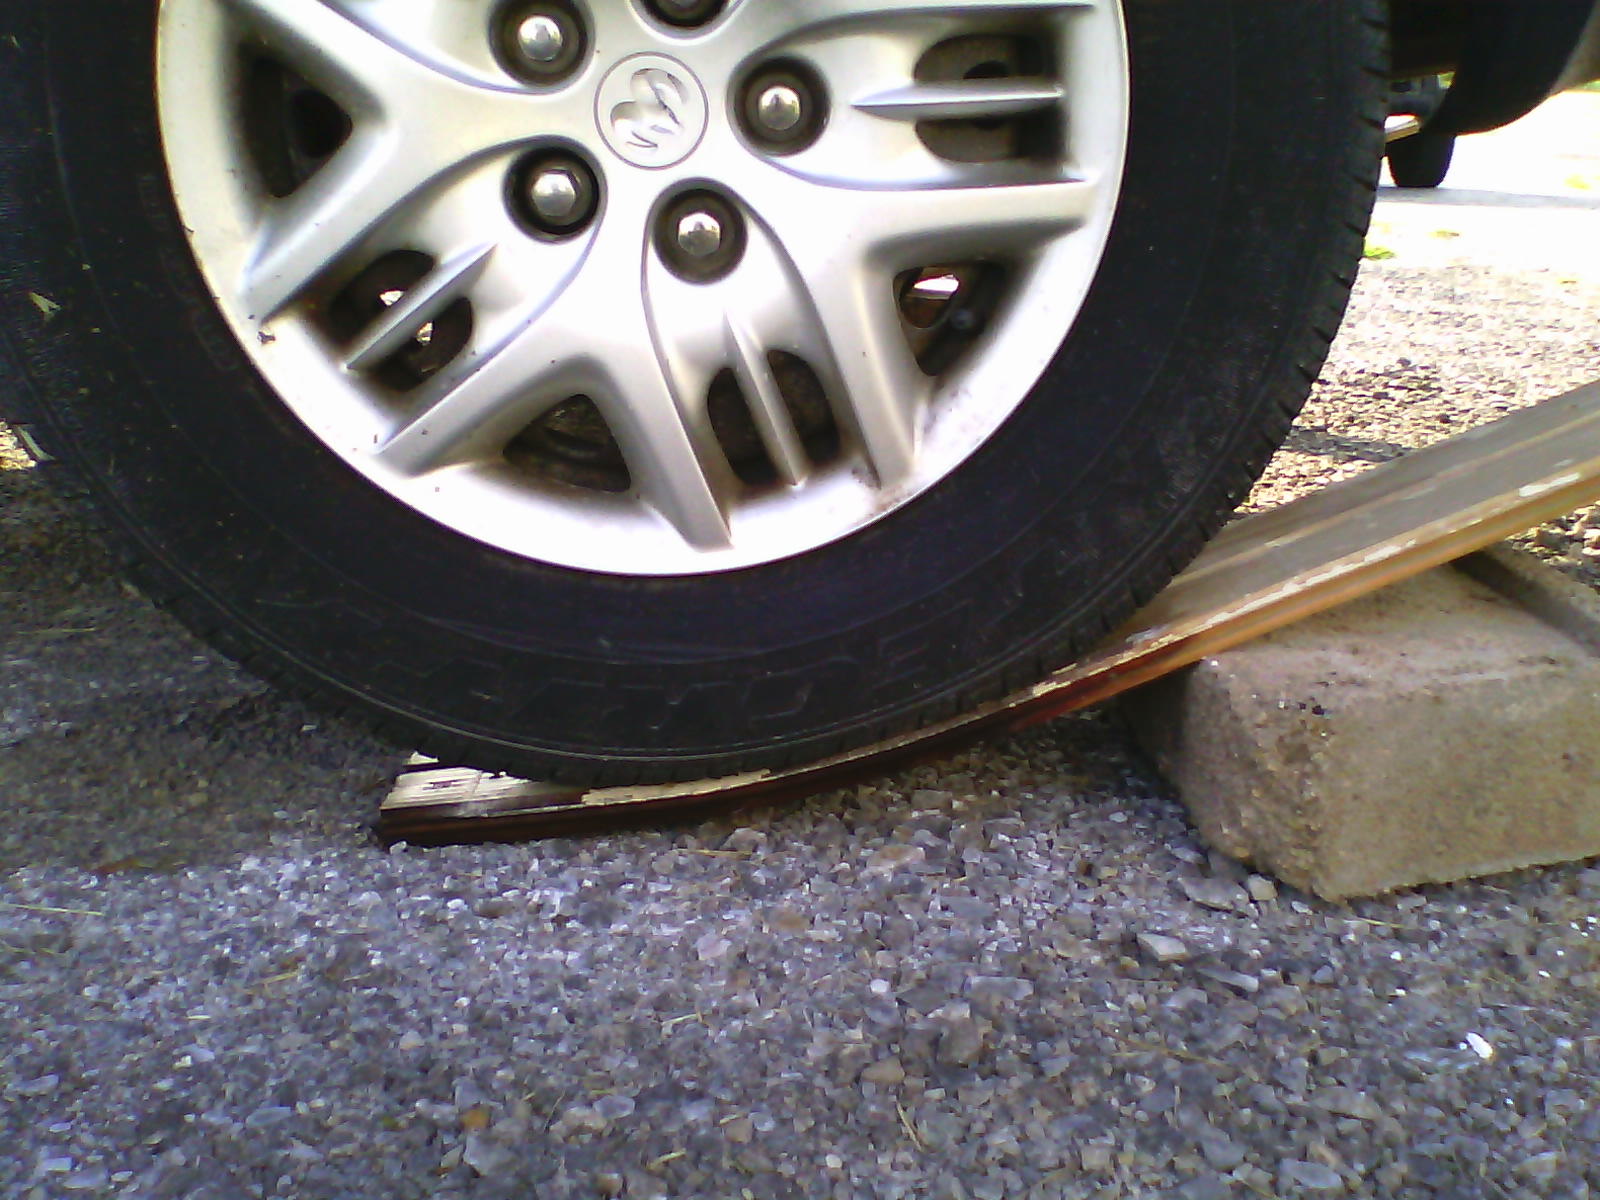
For the runners, a bit of red-neck engineering was required. Starting with pine tongue and groove siding acquired from cleaning out a co-workers garage, I stuck them into a 5 gallon pail full of water to soak roughly 18 " of the boards. I left them there for 5 days to make sure the wood was good and wet and pliable. 1/2" pine doesn't bend too easily, so in order to get them to bend and have the curve I want for my boat runners, I propped them on bricks, wedged them under the rear wheels of my mini-van, backed it up and set the parking break.
I'll leave it there for a week to allow the boards to dry out some, then bolt them onto the frame of the boat to complete their drying out time. I have to admit, I didn't think this would work, but so far the boards are bent perfectly with no sign of breaking or splintering.
Once this project is complete, I'll be able to begin constructing a stone retaining wall for the gravel pad that is the foundation of my as-yet wood shed / green house. I hope to have that well under way this August.